centos 72 -- apache2 with virtual hosts -- sftp key-ed access
part2: operating system
- setup CentOS72
- using virtualbox on host rohtang
- configuring virtual machine
1GB RAM // 1CPU + PAE/NX + VT-x/AMD-V + Nested Paging // i/o APIC // CLOCK UTC
12MB display RAM
28GB sata disk (host i/o cache)
Network on vboxnet0 base-MAC: 080027472FFF
machine01 will be 080027472F01
machine02 will be 080027472F02
etcetera - using ISO-image: CentOS-7-x86_64-NetInstall-1511.iso
we get the following when booting:
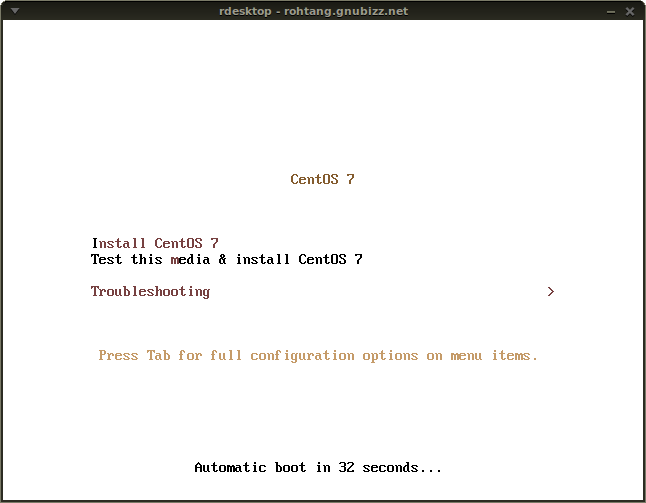
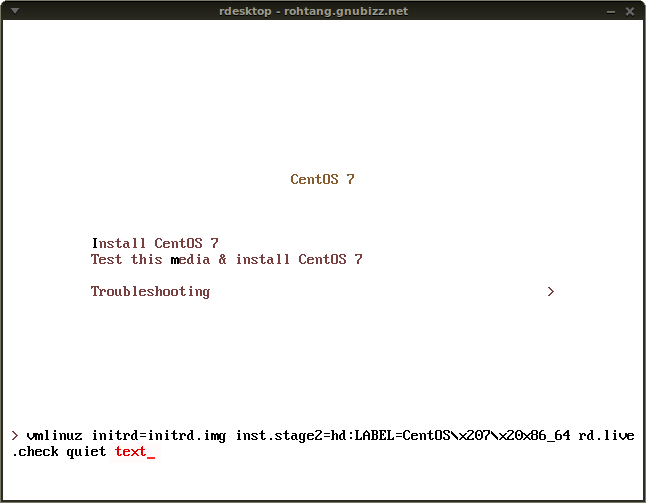
- in order to install in non-graphical mode,
we press<TAB>
and we add the parametertext
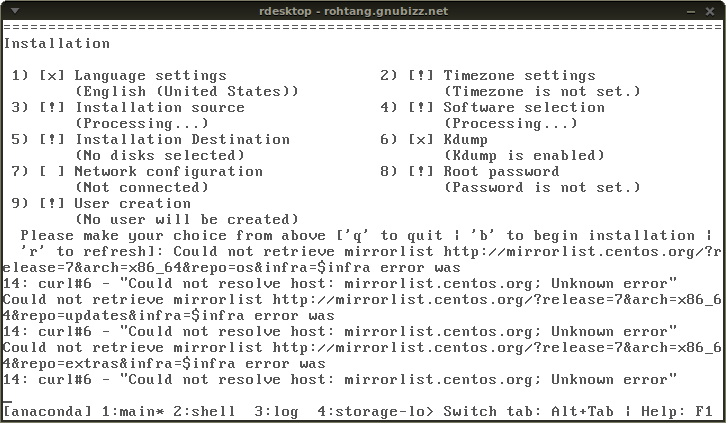
- now we get this confusing user interface (did they copy fdisk from 1977?)
- we enter the network in ipv6 only
gateway = rohtang (prefix::2)
dns = google (2001:4860:4860::8888)
ipv6 =prefix::1100
- time servers: (2017)
0.be.pool.ntp.org
1.be.pool.ntp.org
2.be.pool.ntp.org
3.be.pool.ntp.org
- installation source is most difficult, we got stuck trying to use belnet, but it did not work, however we find the following

(dit werkt ook in 2017 for centOS74: http://ftp.belnet.be/mirror/ftp.centos.org/7.4.1708/os/x86_64/ )
- we select minimal install
- we configure one user who will be administrator of all virtual machines, and a root account with a basic password;
- we select standard but automatic MBR disk-layout which will later look like this:
Device Boot      Start         End      Blocks   Id  System
/dev/sda1   *        2048     1026047      512000   83  Linux
/dev/sda2         1026048     5222399     2098176   82  Linux swap
/dev/sda3         5222400    58720255    26748928   83  Linux

/dev/sda3 on /     type xfs (rw,relatime,seclabel,attr2,inode64,noquota)
/dev/sda1 on /boot type xfs (rw,relatime,seclabel,attr2,inode64,noquota)
... much later after correctly entering all parameters ... - the system gets installed, and reboots when done ...
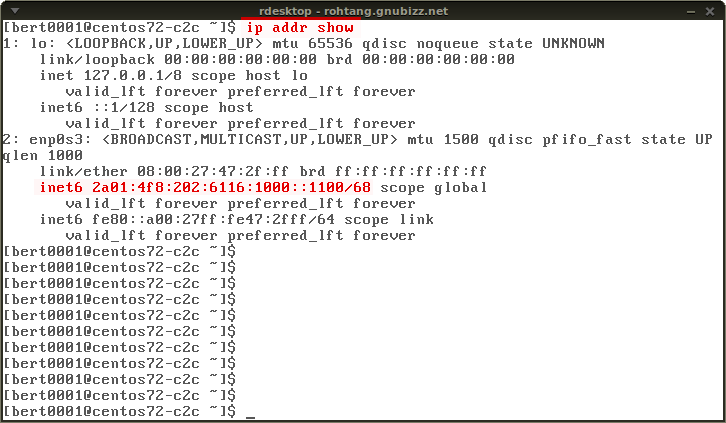
- after reboot we have a very basic machine without
ifconfigordigorroute, but fortunately, theipcommand, and almost everything else works:
- basic configuration
The system has no editor at all, we installnano
sudo yum install nano
Since we will use ipv6 and only ipv6 we set parameter NETWORKING_IPV6 in the file/etc/sysconfig/network.
When later removing it, everything still works, so it is not necessary. We just need patience: once the system is visibly up we still have to wait about a minute before we can connect. The above parameter and snippet below, doesn't change that.$ cat /etc/sysconfig/network # Created by anaconda NETWORKING_IPV6=yes - cloning
We have to set MAC-address in virtualbox -- we do a manual edit: the MAC-address ends in the student's machine-number:08:00:27:47:2f:18
We then set IPv6-address and hostname in the clone:
The network configuration looks like this after correcting the IPV6ADDR:$ cat /etc/sysconfig/network-scripts/ifcfg-enp0s3 TYPE=Ethernet BOOTPROTO=dhcp DEFROUTE=yes IPV4_FAILURE_FATAL=no IPV6INIT=yes IPV6_AUTOCONF=no IPV6_DEFROUTE=yes IPV6_FAILURE_FATAL=no NAME=enp0s3 UUID=cca878cc-f639-47dd-b504-11032d0d67ee DEVICE=enp0s3 ONBOOT=yes IPV6ADDR=2a01:4f8:202:6116:1000::1118/68 IPV6_DEFAULTGW=2a01:4f8:202:6116:1000::2 PEERDNS=yes PEERROUTES=yes DNS1=2001:4860:4860::8888in
IPV6ADDR=2a01:4f8:202:6116:1000::1118/68the number 18 signifies the 18th clone.
Finally we set/etc/hostnameand/etc/hosts[user@centos72-s18 ~]$ cat /etc/hostname centos72-s18 [user@centos72-s18 ~]$ cat /etc/hosts 127.0.0.1 localhost centos72-s18 ::1 localhost centos72-s18.. and we restart the system to test everything.
The product that the students will have to work with is now finished and ready to be deformed.
- routing
On rohtang ports are opened to connect using ipv4 with these ipv6 machines:iptables -vA INPUT -p TCP --dport 61824 -j ACCEPT socat TCP4-LISTEN:61824,fork,su=nobody TCP6:[2a01:4f8:202:6116:1000::1118]:22 & - users
A sudo account is made on each machine with the first name of the student that will be using it. A random password containing at least 16 characters will be provided.
The sudo-group is calledwheelin centOS72. Usingusermodwe can add any user in this group as follows:
$ sudo usermod -G -a wheel user
It would be interesting to create a script for the final configuration of all machines, based on the MAC-address, which ends in the student's number:08:00:27:47:2f:18
- personal configuration
From here, the exercise starts. I get the same machine for my own 'exam', and I will install some basic utilities like vim, mc, ifconfig and the like ...
Before doing this, however, it is time to take a snapshot.
Next ...sudo yum install vim sudo yum install mc sudo yum install net-tools sudo yum install bind-utils